

Connecting your mobile phone to your PC via Wi-Fi is a very simple and convenient way to perform many tasks without using cables. This allows you to transfer all the content from your smartphone to your computer.
Millions of users around the world already use this method, but surely there is someone out there who still doesn't know how to do it. That is why we have written this post, to explain the method step by step, with some useful tips and tricks.
Before proceeding, it's important to note that this connection can be established with any computer that has a Wi-Fi adapter enabled for network hosting. This process is different from using your smartphone's data on a PC.
Methods to connect mobile to PC by WiFi
These are the most effective and used methods to connect mobile to PC via WiFi:
File Manager Application

Connect mobile to PC by WiFi with File Manager
To connect your mobile phone to your PC via Wi-Fi, you'll need to install an app on your smartphone. This app is called "File Manager ," a versatile file explorer specifically designed for Android. With this tool, you can connect your phone to your PC via Wi-Fi and access shared folders.
Once you have downloaded this tool (here is the download link ) and installed it on your mobile device, the steps to follow are:
- First of all, we access the application from the mobile, with which all the available options appear. The one we must use to make the connection is the "Remote".
- Once this option is selected we add a remote location. The option we are interested in is "Local network", through which we can connect via WiFi to the PC.
- The next step is to go to the option "Add Remote" and in it select the computer to which we will connect in our local network.
After accepting the connection, we will have access to all the folders that are on the PC and that are shared on the network. We will see that the files saved on the computer appear on the phone and, in the same way, when saving a file in that folder from the mobile, it will also appear on the computer.
Configuring Windows

Connect PC and mobile via WiFi with Windows settings
We explain how this method works with Windows 10 , although it is also valid for Windows 11.
- First we go to start, to the Windows logo that is in the lower left corner of the screen. From there we access "Settings".
- Then we select the option "Network and Internet", represented by an icon of a globe.
- In the list of options on the left, we choose the one of “Area with mobile wireless coverage”.
- There you have to slide the button to activate and select the option WiFi further down (as shown in the image above).
- Next we review the "Network Name", which has to match that of the PC, and the «Network Password».
Once this is done, the Wi-Fi access point will be configured on our computer and we will be able to connect through the menu of our smartphone.
Using Connectify

Connectify, free application to connect PC and mobile via WiFi
If your computer doesn't have a Wi-Fi adapter, a connection won't be possible. Luckily, we have applications like Connectify to overcome this obstacle. Here's how to proceed in these cases:
- Download the application Connectify from the official website and install it on our PC following the instructions of the wizard. Once the installation process is complete, you will need to restart your computer.
- Upon restart, the application may start automatically. If it doesn't, we click the Connectify icon. You have to press the "Try it" button (or try it out in the English version).
- Then we click on the button "WiFi access point".
- Then we fill in the field "Password" and later "Start hotspot".
After waiting a few seconds, Connectify will notify us that everything is ready to make the connection.
Wired connection
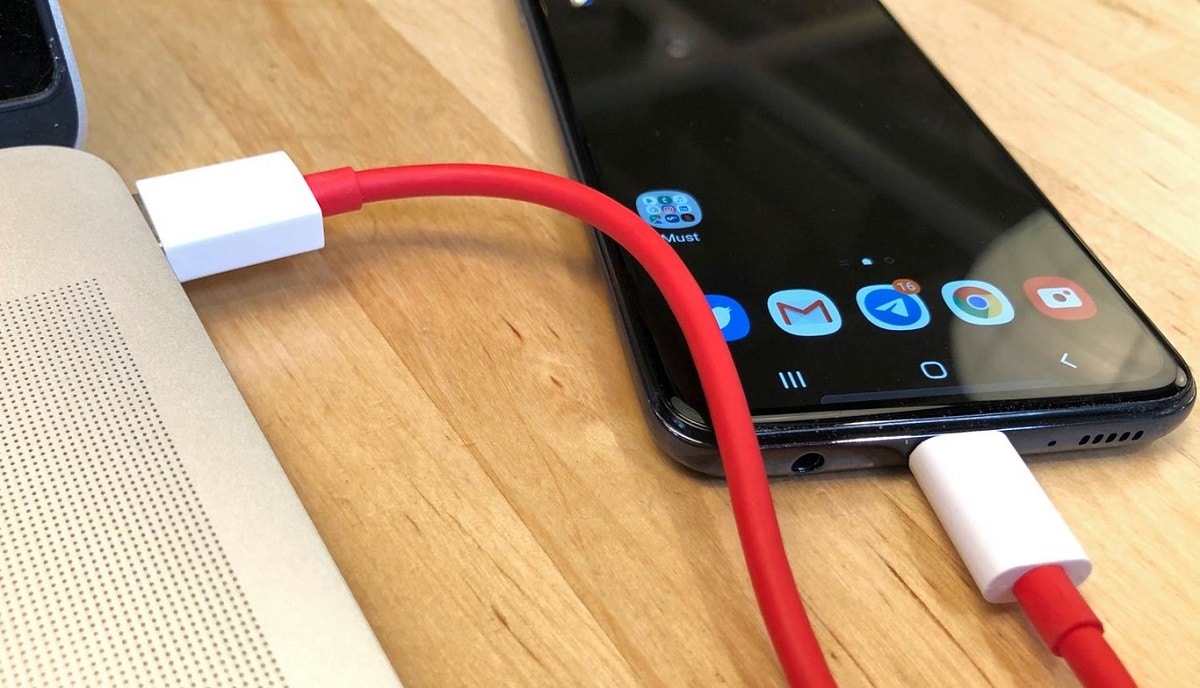
Alternative to connect mobile to PC via WiFi: the cable
But if you still don't want to (or can't) connect your phone to your PC via Wi-Fi, there's always the option of using the old cable method . Let's see how it works:
The first step is to physically connect the mobile phone to the computer. This is usually done using the cable that came with the charger. One end connects to the mobile device, while the other end has a USB port that connects to the computer.
When connecting the mobile to the computer with the cable, two different situations can occur:
- That the mobile begins to load and a window opens directly on the PC screen to start viewing the content of the mobile.
- Or, even though it starts to load, the content window does not appear. If this happens, you have to click on the notification “Charging device by USB” and continue with the options that are displayed.
The "USB Preferences" menu will then open . In the "USB controlled by" section , leave the "This device" option selected , as it is by default. In the "Use USB for" section, you have the following options. Select the one that best suits your needs:
- file transfer, which is the way to be able to transfer files between the mobile and the device to which we have connected it.
- Share connection via USB, so that the mobile acts as a router and that the device connected to it by USB can access the Internet through the connection that we have on our mobile.
- MIDI (Musical Instrument Digital Interface): the option to use in order to be able to interact with instruments or computers with the MIDI standard.
- PTP (Picture Transfer Protocol), a specific standard to transfer only the photos from a mobile to a PC.
- Do not transfer data: As the name indicates, when you connect the mobile to the PC via USB, no data transfer will take place, it will only be limited to charging the battery.